
Match day is a finish line and a starting gun. You celebrate, you sleep, and then the administrative avalanche hits.
Too many brilliant medical students crash and burn in July because they treat the pre-onboarding phase like an extended vacation. It's not. It is a critical 14-week administrative window. The transition from medical student to intern requires a massive psychological and logistical shift. If you wait until June to figure out your housing, your credentials, and your rotation schedule, you will start your residency exhausted, disorganized, and behind the curve.
If you are joining an institution that is brand new to the match, ensure you also review what to do each month after a new program announces first match cycle.
At this point, you should adopt the Timeline Guide philosophy: preparation over panic.
I've watched interns show up to orientation missing a single immunization record, only to be barred from the hospital floor for three weeks while they sort it out. Don't be that intern. We are going to break down your 14-week pre-start countdown into manageable, chronological phases. By following this timeline, you will walk through the hospital doors on July 1st with absolute clarity.
Phase 1: The Documentation Sprint (Match Week to Week 4)
The moment the match results are finalized, your new Graduate Medical Education (GME) office goes into overdrive. They have to credential dozens of new residents.
At this point, you should treat every onboarding request like a stat medical order. Missing a deadline delays your clearance.
Your immediate requirements include credentialing paperwork, background checks, and exhaustive health documentation. You will need to tackle hospital portal account creation, which is notoriously clunky. Expect broken links, password reset loops, and confusing interfaces. Push through it.
Here is the golden rule of Phase 1: Respond to GME onboarding requests within 48 hours.
Program coordinators batch-process paperwork. If you miss the Tuesday batch because you waited until Thursday to reply, your file sits in a queue for another two weeks. Be the resident who makes the coordinator's life easy.
Once you feel confident in your logistics, it is helpful to understand the unspoken expectations programs have once you've matched to ensure a smooth start.
Watch out for common pitfalls in health screening deadlines. Medical schools are terrible at keeping centralized, up-to-date records of your titers and TB tests. You will likely need to get re-drawn. Do this immediately. Phlebotomy labs get backed up in May, and medical clearances take time to process.
Phase 1 Checklist:
- Create your hospital portal account the day you receive the link.
- Order missing lab titers and schedule your drug screen.
- Submit all credentialing forms 48 hours ahead of the stated deadline.
- Scan and save every submitted document to a dedicated "Residency Onboarding" cloud folder.
Phase 2: Tactical Communication (Week 5 to Week 9)
By week five, the initial paperwork dust settles. Now you need information.
At this point, you should establish a crisp, professional communication rhythm with your program coordinator. Coordinators are the gatekeepers of your residency experience. They are busy, they are stressed, and they do not want to read your life story in an email.
Keep your emails ruthlessly concise. Use clear, standardized subject lines. A subject like "Question about orientation" is useless. Use "ACTION REQUIRED: Dr. Smith (PGY1) - Orientation Schedule Inquiry". Use bullet points. Ask one or two specific questions per email. If you have five questions, batch them into a single, well-formatted message.
This is also the time to inquire about orientation schedules and your initial rotation blocks. You need to know if you are starting in the ICU or on a general ward so you can mentally and logistically prepare.
Simultaneously, you must set hard boundaries with your current employers or medical school departments. Your current attendings will try to guilt-trip you into finishing "just one last project" or covering extra clinic shifts before you leave. Stand your ground. You are transitioning to a new, demanding career phase. Politely but firmly decline non-essential obligations. Your priority is your future program, not your past one.
Finally, engage in strategic networking. Reach out to your co-interns and incoming seniors. A simple introductory text or email goes a long way. Build the social scaffolding before you actually need it. But don't be annoying. One friendly message is great; weekly check-ins are overwhelming.

Phase 2 Checklist:
- Email your coordinator to confirm receipt of your Phase 1 documents.
- Request your preliminary rotation schedule and orientation dates.
- Formally decline lingering medical school projects that conflict with your move.
- Create a group chat or email thread with your co-interns to share housing and moving tips.
Phase 3: Logistics and Life Transition (Week 10 to June 30th)
This is where the reality of the transition sets in. You are moving your life to a new city, and the clock is ticking.
At this point, you should execute your relocation timeline. Moving by June 15th is non-negotiable.
I cannot stress this enough. If you delay your move until June 25th, you will be unpacking boxes the night before orientation. Your internet won't be set up. You won't know where the grocery store is. You will show up to your first day looking like a raccoon, running on three hours of sleep and stale coffee. Give yourself a two-week buffer to acclimate to your new environment.
During this phase, handle the boring but critical life admin. Set up your local banking, transfer your utilities, and update your address with the post office. Update your NPI registry and state medical license addresses if applicable. Bureaucracy moves slowly; initiate these changes early.
You will also need to manage your expectations for the "pre-internship slump." Around June 1st, the excitement of matching fades, replaced by a heavy, sinking dread. Imposter syndrome flares up. You will wonder if the program made a mistake matching you. This is normal. Every intern feels it. Acknowledge the anxiety, but do not let it paralyze you. Stick to your timeline. Action cures fear.
Phase 3 Checklist:
- Sign your lease and schedule your movers for no later than June 10th.
- Update your NPI, DEA (if applicable), and banking addresses.
- Arrive in your new city by June 15th.
- Spend your buffer week exploring your neighborhood, finding a gym, and locating the hospital parking garage.
Closing: Your July 1st Readiness Checklist
The countdown is over. The 14 weeks of preparation have led to this exact moment. You are no longer a medical student. You are a doctor.
Mentally preparing for this role shift is just as critical as the physical paperwork. You are now the primary point of contact for your patients' care. The safety net of medical school is gone, replaced by the responsibility of the intern. Embrace the weight of it, but trust the training that got you here.
At this point, you should focus entirely on the final 48 hours before your kickoff. Stop worrying about what you don't know. Focus on what you can control. Establish the Timeline Guide mindset for long-term career success: control the logistics, and you free up your brain for the medicine.
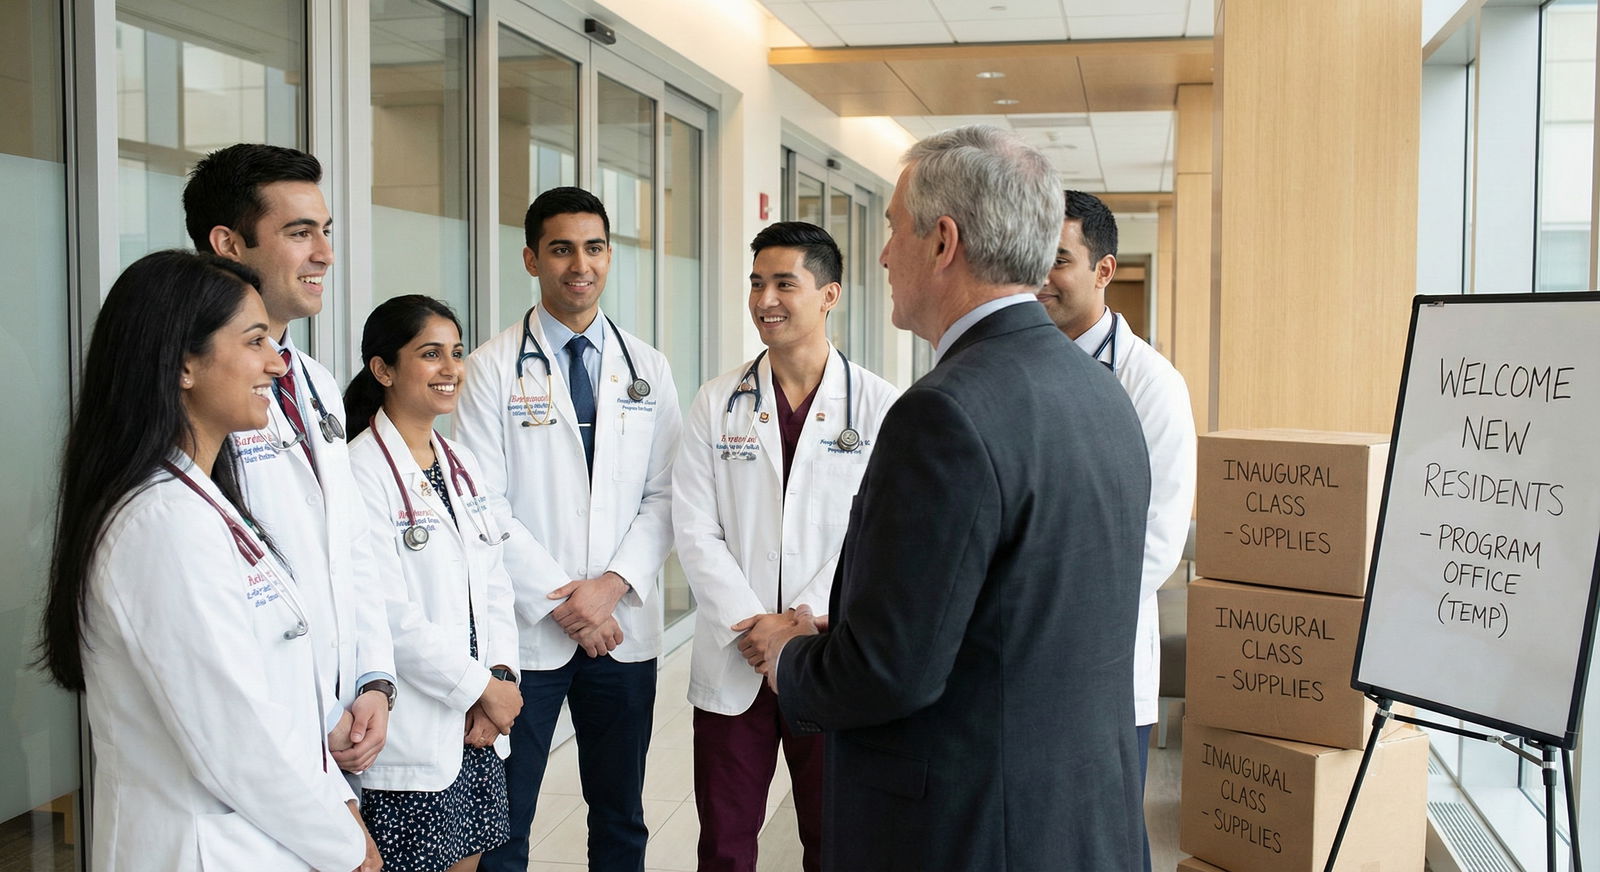
Your Final 48-Hour Action Steps:
- Pack your work bag the night before. Include your stethoscope, pens, a small notebook, phone chargers, and a water bottle. Do not leave this for the morning.
- Iron your scrubs or professional attire. First impressions matter. Look like you belong on the team.
- Map your commute. Do a dry run to the hospital. Figure out exactly where to park, which entrance to use, and how long it takes to walk from your car to the resident workroom. Add 15 minutes to that estimate.
- Set two alarms. Put your phone across the room so you have to physically get out of bed to turn it off.
- Go to sleep early. You will not sleep perfectly. That's fine. Just rest your body.
You have done the work. You matched. You prepared. Now, walk through those doors and get to work.