The pager goes off at 03:14. Room 42. Severe gastroenteritis, hypotensive, tachycardic, and the nurse just informed you they have failed three peripheral IV attempts. You walk into the room, and the patient looks profoundly volume-depleted. The skin is mottled. The mucous membranes are dry. You need access immediately, but the peripheral veins have completely vanished.
This urgency is why waiting until morning is often wrong during night coverage.
This is the crucible of the on-call shift. You have two primary weapons in your arsenal for difficult access: Intraosseous (IO) drilling and Ultrasound-Guided Intravenous (USGIV) placement. Choosing the wrong modality at the wrong time delays resuscitation, worsens patient outcomes, and destroys your confidence. Let us break down the physiology, the techniques, and the exact clinical algorithm you need to master this scenario.
The 3 AM Crisis: Why Dehydration Collapses Your Veins
To understand why you cannot find a vein, you must understand the physiological mechanism of venous collapse in hypovolemia. When a patient becomes severely dehydrated, their intravascular volume drops. The body compensates via a massive sympathetic surge. This triggers intense alpha-1 receptor activation, causing profound peripheral vasoconstriction. The venous capacitance system shifts blood away from the extremities and toward the core to preserve cerebral and coronary perfusion.
The peripheral veins do not merely shrink. They flatten, lose their structural venous tone, and become entirely unpalpable.
When you attempt a blind stick in this state, the veins become notoriously "slippery." You might feel a faint bounce of the needle against the vessel wall, but because the vein is flat and lacks internal hydrostatic pressure, the needle simply slides off the edge. You push harder, you puncture the posterior wall, and you blow the attempt.
The psychological pressure of the on-call environment amplifies this mechanical failure. The nurse is staring at you. The patient is groaning. The attending is waiting for the CT scan. Your heart rate elevates, your fine motor skills degrade, and you start digging. Digging destroys tissue, causes hematomas, and eliminates whatever faint landmarks you had left.
In emergency medicine and critical care, time to access is the primary determinant of patient outcome. A delayed antibiotic in sepsis or delayed fluid in hypovolemic shock directly increases mortality. You cannot afford to spend ten minutes hunting for a vein that does not exist.
IO Access: The Tibial Plateau Protocol
When peripheral access fails and the patient is unstable, the bone marrow cavity becomes your best friend. The marrow space is a non-collapsible network of venous sinusoids that communicates directly with the central circulation.
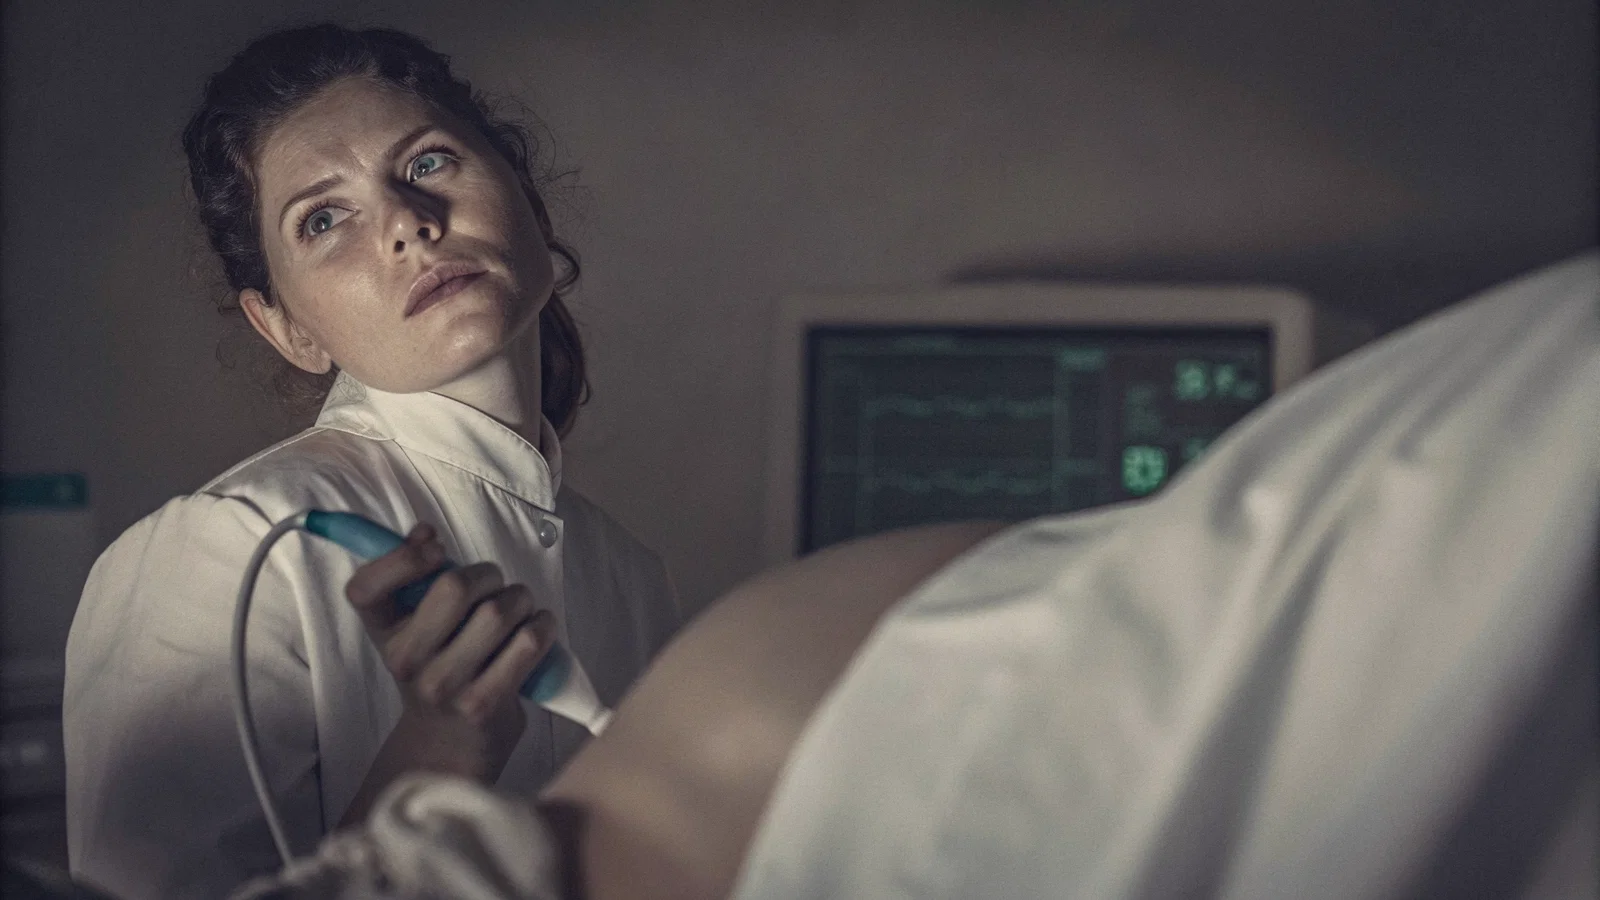
The gold standard site for adult IO access is the proximal tibia. Specifically, you target the flat anteromedial surface, approximately 1 to 2 cm medial and 1 to 2 cm distal to the tibial tuberosity. This location is ideal because the skin is thin, there is minimal subcutaneous fat, and the bony landmark is easily palpable even in obese or edematous patients.
You have two main tools: the manual Jamshidi needle and the battery-powered IO driver (such as the EZ-IO). I strongly prefer the power driver. The manual Jamshidi requires a forceful, twisting downward pressure that is exhausting to perform and often results in cortical deflection. The power driver is faster, requires less physical exertion, and has a significantly higher first-pass success rate.
Here is the step-by-step technique for the power driver:
- Identify the tibial tuberosity. Palpate 1 to 2 cm distal and 1 to 2 cm medial to find the flat spot on the bone.
- Prep the site aggressively with chlorhexidine.
- Select the correct needle length. The pink needle (25mm) is appropriate for most adults. Use the blue needle (45mm) only if the patient has excessive tissue over the tibia (usually >2 cm of soft tissue).
- Attach the needle to the driver. Place the tip on the skin at a strict 90-degree angle to the bone. Do not angle it.
- Apply gentle downward pressure and pull the trigger. Drill until you feel a sudden "pop" or a distinct loss of resistance.
- Remove the driver, unscrew the stylet, and attach a syringe. Aspirate bone marrow. (Note: Marrow aspirate confirms placement, but failure to aspirate does not rule it out. Do not delay flushing if you have good flow).
- Flush vigorously with 10 mL of normal saline.
If the patient is conscious, the flush is excruciatingly painful due to the pressure building in the marrow cavity. You must administer 2% preservative-free lidocaine (usually 40 mg for adults) slowly into the IO space before the saline flush. This is a critical step that many residents forget.
The indications for IO are clear: cardiac arrest, profound shock, and failed peripheral IV attempts in an unstable patient.
Complications are rare but critical to recognize. Extravasation is the most dangerous immediate risk. If the needle tip is not fully through the cortex, or if it penetrates the posterior cortex, infused fluid will accumulate in the subcutaneous tissue or the deep posterior compartment. This rapidly causes compartment syndrome. Fat embolism can occur if you drill incorrectly or use excessive force, though this is exceptionally rare with modern power drivers. Osteomyelitis is a risk if the IO is left in place for too long. Remove the IO and replace it with definitive central or peripheral access within 24 hours.
For more strategies on managing overwhelming workloads, check out this triage playbook for interns on call.
Ultrasound-Guided IV (USGIV): Seeing the Invisible
If the patient is stable but simply has difficult anatomy, ultrasound is the superior tool. Ultrasound transforms a blind procedure into a direct visualization exercise.
The fundamental rule of USGIV is the "needle in vein" technique. You must visually confirm the needle tip inside the lumen of the vein before advancing the catheter. Blind sticks rely entirely on the flash of blood in the chamber. USGIV relies on real-time spatial awareness. If you cannot see the tip, you are not doing ultrasound-guided access; you are just doing a blind stick with an ultrasound probe resting on the skin.
When dealing with severe dehydration, B-mode (grayscale) ultrasound often shows veins as tiny, collapsed, anechoic slivers. They are easily compressible and hard to distinguish from surrounding tissue. This is where Doppler becomes invaluable. Applying color or power Doppler will confirm flow. It also helps you differentiate the target vein from a neighboring artery. Arteries will show pulsatile, high-velocity flow and will resist compression. Veins will show continuous, low-velocity flow and will collapse completely under probe pressure.
Your primary targets in the antecubital fossa are the median cubital, basilic, and cephalic veins. The median cubital is often the most superficial, but it is notorious for rolling. The basilic vein is deeper, larger, and more stable, but it sits in dangerous proximity to the brachial artery and the median nerve. The cephalic vein is located laterally and is often a good alternative.
The major limitation of USGIV is operator dependency. The learning curve is steep. You must master needle tracking. The most common error is the "blind spot" artifact. This occurs when the shaft of the needle is visible in the ultrasound beam, but the tip has advanced just beyond the slice plane. You think you see the tip, you advance the catheter, and you puncture straight through the posterior wall of the vein.
To prevent this, always use the in-plane (long-axis) approach for difficult sticks. Align the probe so the entire shaft and tip of the needle are visible simultaneously. Watch for the "tenting" sign, the anterior wall of the vein pushing inward just before the needle pierces it. Once the tip pops into the lumen, advance the catheter while keeping the tip centered in the screen.
IO vs. US: The Clinical Algorithm
Choosing between IO and USGIV is not a matter of personal preference. It is a matter of clinical physiology and resource allocation.
Speed is the first differentiator. IO access takes seconds. From the moment you open the kit to the moment you are flushing the line, less than 45 seconds should elapse. USGIV takes minutes. You must locate the machine, apply gel, scan the arm, identify the target, and perform the stick. In a coding or peri-arrest patient, those minutes are fatal.
Success rates in profound hypovolemia heavily favor the IO. As the chart above demonstrates, IO maintains a near 95% success rate regardless of the patient's volume status. The bone marrow does not collapse. Ultrasound success rates drop to around 85% in severely dehydrated patients because the veins are simply too flat to cannulate, even if you can visualize them. You can see the vein, but you cannot get the plastic catheter into a 2-millimeter slit without blowing it.
Equipment availability also dictates your choice. An IO kit is small, portable, and sits in the code cart or your pocket. An ultrasound requires wheeling in a bulky machine, finding a power outlet, and managing cords in a crowded trauma bay.
Here is the rigid decision matrix I use on shift:
- Cardiac Arrest: IO immediately. Do not even look at the ultrasound.
- Profound Shock (Peri-arrest, SBP < 70, altered mental status): IO immediately. You need rapid, high-volume fluid resuscitation, and an IO can handle a pressure bag.
- Stable but Difficult Access (Normal vitals, difficult anatomy, routine admission): USGIV. Take your time. Spare the patient the pain of an IO drill. Get a solid 18-gauge or 20-gauge peripheral line.
- Failed USGIV in a deteriorating patient: Switch to IO. Do not attempt a fourth ultrasound stick.
I have watched residents spend ten minutes digging around in a forearm with an ultrasound while the patient's blood pressure tanks. That is poor clinical judgment. If the patient is unstable and you fail two peripheral attempts, drill the bone.
Summary: Mastering the Access
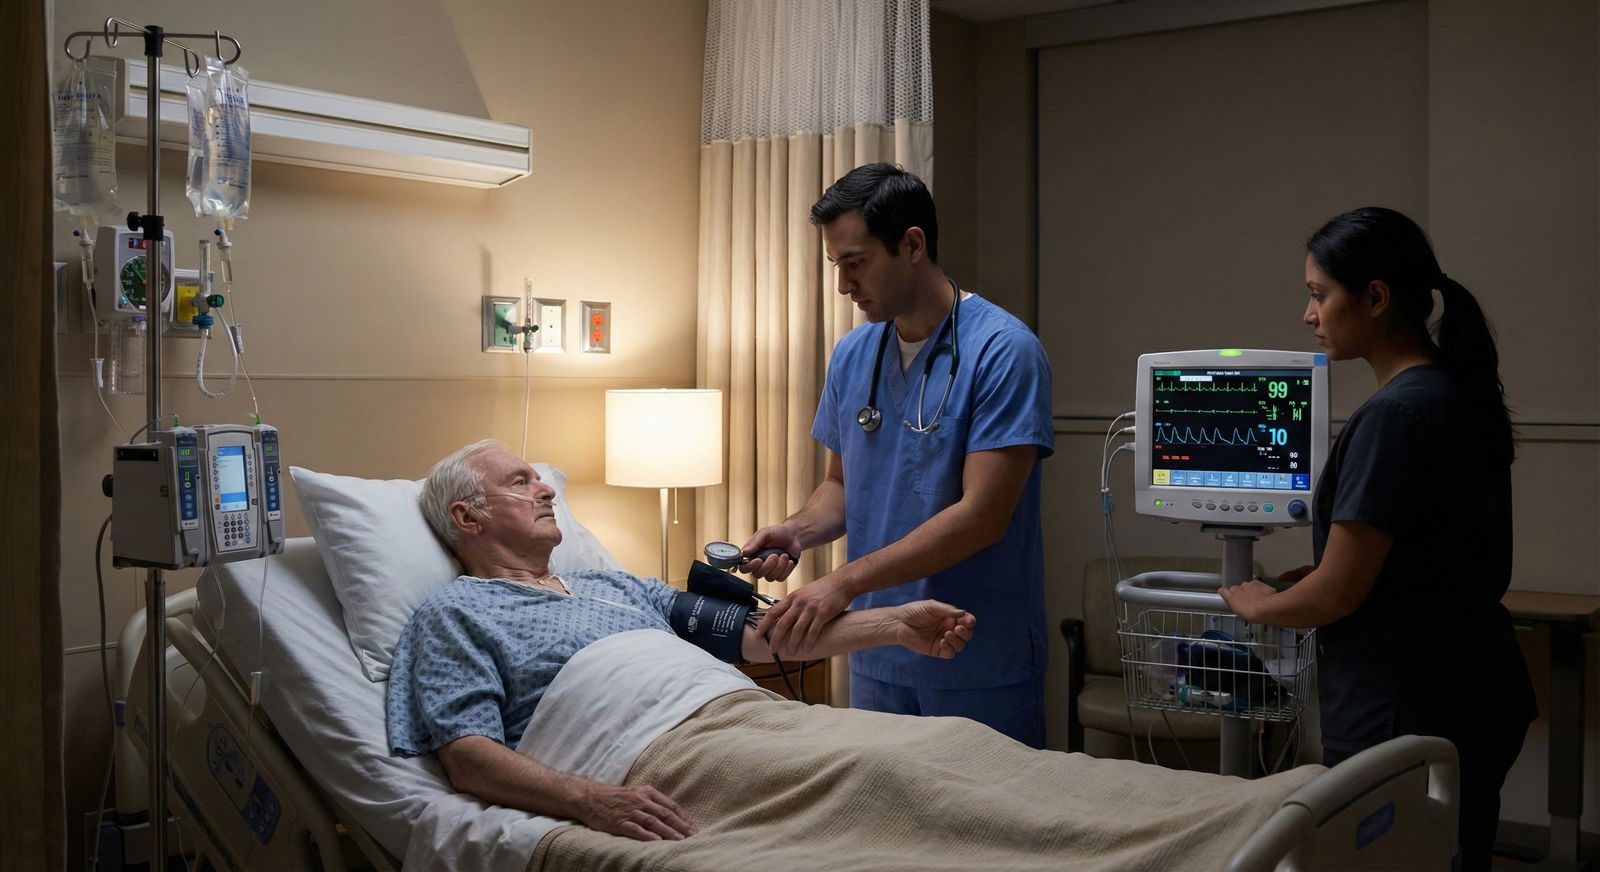
Intraosseous access is the definitive, high-speed solution for shock, cardiac arrest, and profound dehydration. It bypasses the collapsed peripheral circulation entirely. Ultrasound is the superior, precision tool for stable patients with difficult anatomy, allowing you to visualize what the naked eye cannot.
You cannot learn the tactile feedback of the EZ-IO driver during a chaotic code. You cannot learn ultrasound needle tracking during a sepsis alert. You must practice these skills on models and simulation mannequins until they become pure muscle memory.
Never leave a patient without access. If your current modality is failing, stop, step back, and change your approach. Master both techniques, and you will never be stuck when the pager goes off at 3 AM.
Key Takeaways
- In a dehydrated patient, peripheral veins are unreliable; IO is the fastest and most reliable route for fluids and meds.
- Ultrasound is invaluable for visualizing veins but takes longer and requires equipment; use it for stable patients.
- The Tibial Tuberosity is the safest and most effective site for IO access in adults.
- Mastering both techniques ensures you are never "stuck" during a code or a difficult admission.